This deployment guide shows you how to add DGN and DWG data visualization capability to the ArcGIS Event Editor.
メモ:
You will need one .dgn or .dwg file and one .prj file with the same name to accomplish this task. The deployment is shown with a .dgn file as an example.
- ArcCatalog を起動します。
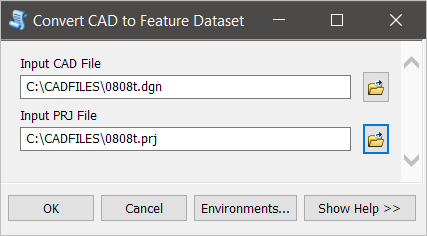
- Double-click the Convert CAD to Feature Dataset tool under EventEditor > Tools > Location Referencing Server Tools.

- Select an input .dgn file.

This .dgn file should already exist in your data directory.
- Select an input .prj file.
This .prj file should already exist in your data directory.
- Click OK again.
The Convert CAD to Feature Dataset tool runs.
- Click Close after the tool runs successfully.
- ArcMap を起動します。
- On the Geoprocessing menu, click Results.
The Results window appears in ArcMap.
- In the Results window, right-click the Current Session node, then click Share As > Geoprocessing Service.
The Share as Service dialog box appears.
- Click the Publish a service option.
- Click Next.
- In the Service name text box, type ConvertCADToFeatureDataset.
- Click Next.
- Use an existing folder or create a folder for housing the published service.
- Click Continue.
The Service Editor window appears.
- Click the Geoprocessing tab and ensure that the Uploads check box is checked.
- Click the Parameters tab and check the View results with a map service check box.
- Click Publish.
Two services are created. You can access them in ArcCatalog. The DGN visualization capability is now enabled in the ArcGIS Event Editor.
- ConvertCADToFeatureDataset (GPServer)
- ConvertCADToFeatureDataset (MapServer)

Limiting the upload file size
Use the following steps to limit the size of the .dgn file:
- Browse to your \\<EventEditor>\ folder and open the Config.json file in a text editor such as Microsoft Notepad.
- Search for the text maxUploadBytes and provide the value max file size in bytes (10485760 in this case).

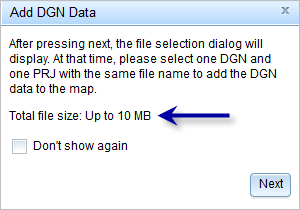
The file size limit will be shown as megabytes (MB) to users on the Add DGN Data dialog box.
