After publishing with ArcGIS Pro, you can edit, change, and save web map symbology using the Symbology dialog box in Event Editor.
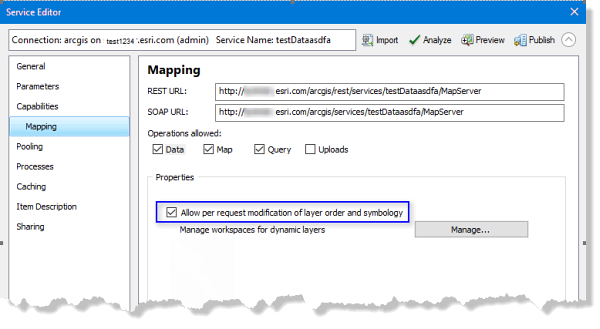
When publishing with ArcMap, check the Allow per request modification of layer order and symbology option before publishing to enable editing, changing, and saving the symbology in the map layers.

Map symbology can be saved if Portal for ArcGIS or ArcGIS Online security is configured with Event Editor.
- Event Editor を開き、プロンプトが表示されたら Portal for ArcGIS か ArcGIS Online にサイン インします。
- [マップ] タブをクリックします。
- Click the Web Map button
 .
. Hover over a web map thumbnail to view additional information, such as the web map summary, tags, and last updated date.
- Click the Layers button
 .
. - Click a symbol next to the layer for which you want to change the symbology.
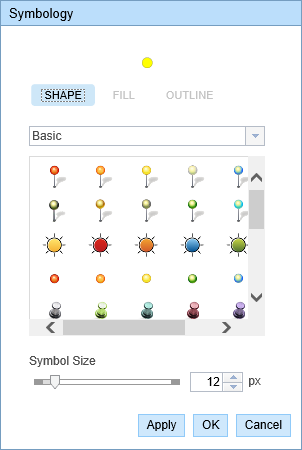
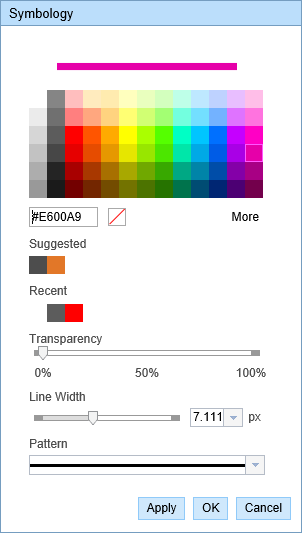
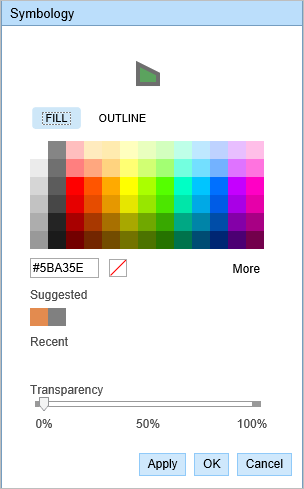
The Symbology dialog box appears.

Symbology editor for a point layer 
Symbology editor for a line layer 
Symbology editor for a polygon layer - Change the symbology according to your organization’s standard.
- Click Apply to preview the symbology on the map.
The dialog box remains open and you can apply more symbology updates.
- Click OK to apply the symbology updates and close the dialog box.
- [マップ] タブの [Web マップの保存] ボタン
 をクリックします。
 自分が所有する既存の Web マップを保存する場合、ファイルが更新されます。 現在読み込まれている Web マップの所有者としてサイン インしていない場合、または構成ファイルをポイントしている場合は、常に新しい Web マップとして保存するよう指示されます。 新しい Web マップを保存する場合は、次のセクションをご参照ください。
マップが保存されると、右下に確認メッセージが表示されます。
The new web map with edited symbology is saved in the respective organization’s portal and is given a new web map ID.