The ArcGIS Event Editor web app supports launching through the passing of URL parameters. The app can be launched to automatically do any combination of the following:
- Choose a specific tab (Map, Edit, Review).
- Load a specific widget, for example, Add Linear Events.
- Populate a specific widget with route ID and measures.
- Navigate the map to a route.
- Set an attribute set.
- Set an enterprise geodatabase version.
- Navigate to a geographic extent in a map.
The Event Editor web app comes with a web page known as a launcher, which allows you to use the URL parameter settings to launch it. This feature can be used in conjunction with ArcGIS Workflow Manager (Classic) to launch the Event Editor web app from a job step. This feature can also be used to create Windows desktop shortcuts to launch the app.
The following steps outline how to use the launcher:
- In a browser, type http://<YourServerName>/<YourEventEditorFolderName>/launcher.html and press Enter, for example, http://testmachine1/EE/Launcher.html.
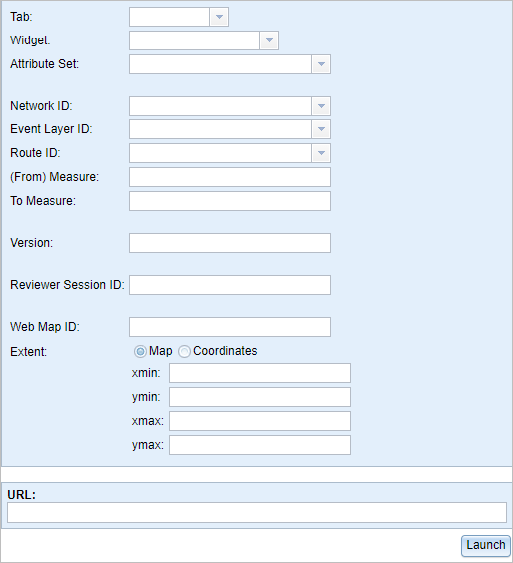
The Event Editor Launcher dialog box appears.

注:
- The read-only URL field at the bottom displays the configuration choices you make.
- The URL launches the Event Editor with only the information you provided in the Launcher dialog box.
- The URL created on the Launcher dialog box can be used as an example to create custom URLs to launch the Event Editor web app with Workflow Manager (Classic).
- All of the launcher fields are optional.
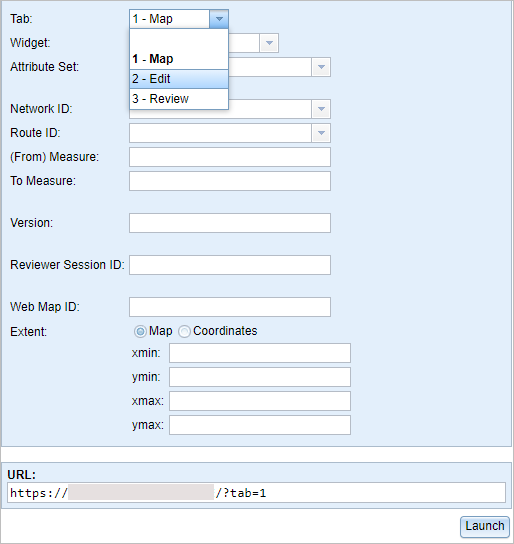
- Click the Tab drop-down arrow and choose 2 - Edit.

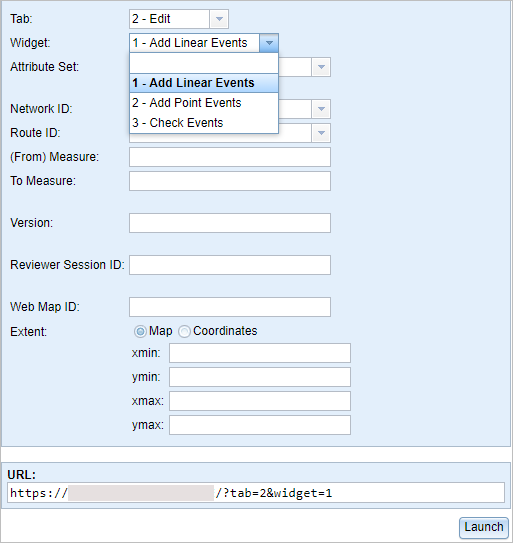
- Click the Widget drop-down arrow and choose 1 - Add Linear Events.

- In the Network ID drop-down menu, choose or provide a valid network ID.
- In the Route ID drop-down menu, choose a route ID or provide a valid route ID.
- Provide a (From) Measure value for the new event.
- Provide a To Measure value for the new event.
- Provide a Version name for the database.
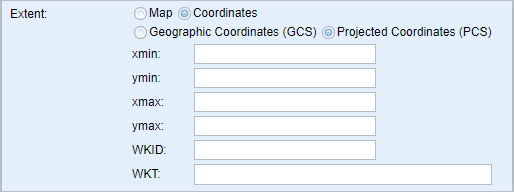
- Define a launch extent for the map using any of the following methods:
注:
If you do not provide any extents, the map zooms to the selected route.
- Click Map and provide values in the xmin, ymin, xmax, and ymax text boxes to define an extent.
- Click Coordinates and Geographic Coordinates (GCS) and provide values in the xmin, ymin, xmax, and ymax text boxes to define an extent using geographic coordinates.
- Click Coordinates and Geographic Coordinates (GCS) and provide a Well-Known ID (WKID) value in the WKID text box.

The following geographic coordinates example defines an extent:
http://<your portal url>/apps/webappviewer/index.html?extent=-117.20,34.055,-117.19,34.06 - Click Coordinates and Projected Coordinates (PCS) and provide values in the xmin, ymin, xmax, and ymax text boxes.
- Click Coordinates and Projected Coordinates (PCS) and provide a Well-Known ID (WKID) value in the WKID text box.
- Click Coordinates and Projected Coordinates (PCS) and provide a Well-Known Text String (WKT) in the WKT text box.

The following projected coordinates example defines an extent using WKID:
http://<your portal url>/apps/webappviewer/index.html?extent=2446038.607175,-75063.151855,2446563.664748,-74704.315069,26941The following projected coordinates example defines an extent using WKT:
http://<your portal url>/apps/webappviewer/index.html?extent=2446038.607175,-75063.151855,2446563.664748,-74704.315069&wkt=PROJCS["NAD_1983_StatePlane_California_I_FIPS_0401",GEOGCS["GCS_North_American_1983",DATUM["D_North_American_1983",SPHEROID["GRS_1980",6378137.0,298.257222101]],PRIMEM["Greenwich",0.0],UNIT["Degree",0.0174532925199433]],PROJECTION["Lambert_Conformal_Conic"],PARAMETER["False_Easting",2000000.0],PARAMETER["False_Northing",500000.0],PARAMETER["Central_Meridian",-122.0],PARAMETER["Standard_Parallel_1",40.0],PARAMETER["Standard_Parallel_2",41.66666666666666],PARAMETER["Latitude_Of_Origin",39.33333333333334],UNIT["Meter",1.0]]
- Click Launch.
A new browser window appears in the Event Editor. The Add Linear Events widget is opened with prepopulated values and zoomed to the route using a specific version of the database. The From Measure and To Measure values are located on the map.