You can configure the measure length, navigation, and save properties for the Event Attributes table.
Hinweis:
The configuration of these table properties are stored in your browser's localstorage.
Configuring measure length and Route ID and Route Name display
To set your measure length and Route ID and Route Name display properties, complete the following steps:
- Click the Table Properties button
 on the toolbar of the Event Attributes table.
The Table Properties dialog box appears.
- Click the Columns tab.
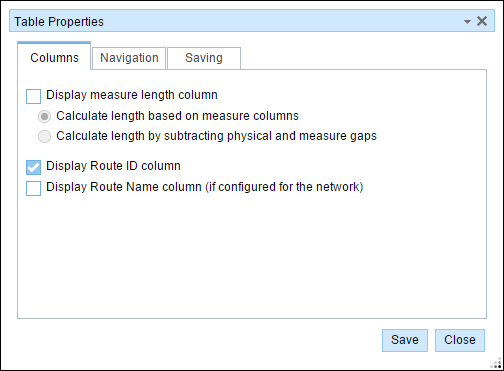
- If you want a measure length column in the event attribute table, check the Display measure length column check box.
- Choose the Calculate length based on measure columns option if you want the measure length column to be calculated based on subtracting the From Measure column from the To Measure column.
- Choose the Calculate length by subtracting physical and measure gaps option if you want the measure length column calculated by excluding any physical and measure gaps in the event.
- If you want the Route ID column in the event attribute table, check the Display Route ID column check box.
Hinweis:
If the networks in the map have the route name configured, this option will be unchecked by default. If the networks do not have the route name configured, this option will be checked by default.
- If you want the Route Name column in the event attribute table, check the Display Route Name column (if configured for the network) check box.
Hinweis:
If the networks in the map have the route name configured, this option will be checked by default. If the networks do not have the route name configured, this option will be unchecked by default.
- Klicken Sie auf Speichern.
- Click Close to close the dialog box.
Configuring navigation
To set your navigation properties, complete the following steps:
- Click the Table Properties button
 on the toolbar of the Event Attributes table.
The Table Properties dialog box appears.

- Click the Navigation tab.
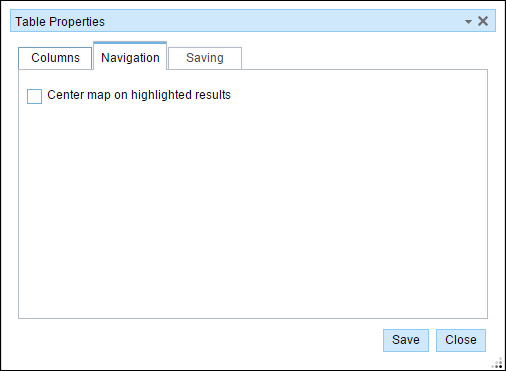
- Check the Center map on highlighted results check box.
- Klicken Sie auf Speichern.
- Click Close to close the dialog box.
Configuring save options
To set your save options properties, complete the following steps:
- Click the Table Properties button
 on the toolbar of the Event Attributes table.
The Table Properties dialog box appears.

- Click the Saving tab.
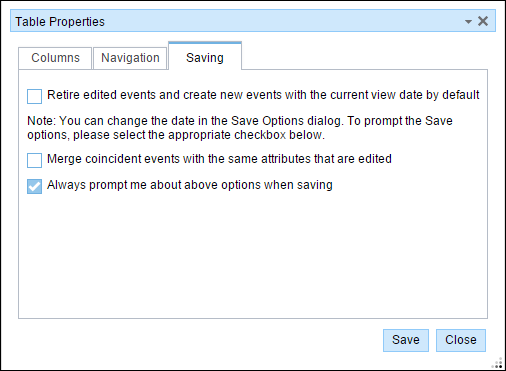
- If you want the edited events to be retired and a new event record to be created for the attribute changes, check the Retire edited events and create new events with current view date by default check box. If the edited events are for error correction, or you do not want the events retired when you make changes, do not check this check box.
- If the events being edited are coincident to be merged into a single event record, check the Merge coincident events with the same attributes that are edited check box. If you do not want coincident events that are being edited to be merged into a single event record, do not check this check box.
- If you want to be prompted about the options in steps 3 and 4 (retiring edited events and merging edited events) each time changes in the selection table are saved, leave the Always prompt me about above options when saving check box checked. If you do not want to be prompted when saving edits, uncheck the check box.
- Klicken Sie auf Speichern.
- Click Close to close the dialog box.