The Swipe widget enables you to easily compare the content of different layers in a map. It provides horizontal, vertical and spyglass view modes. You can slide the swipe tool or move mouse around to reveal the content of another layer. For example, you may want to use it to show before-and-after imagery of a flood, or display two related thematic layers in a map.
Configuring the Swipe widget
The Swipe widget can be set to open automatically when apps start. To do so, click the yellow dot on the widget to turn it to green.
- Hover the mouse over the Swipe widget and click the small eye icon
 to show this widget in your application. It is located on the upper-left corner of the map, right under My Location widget.
 - Click the small edit icon
 to open the configuration window.
 - Choose a style to interact with the map.

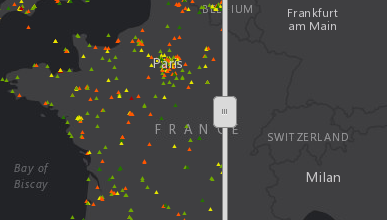
- Vertical bar--Slide the swipe tool left and right. The content of the layer you want to swipe shows on the left of the map.
- Horizontal bar--Slide the swipe tool up and down. The content of the layer you want to swipe shows on the top of the map.
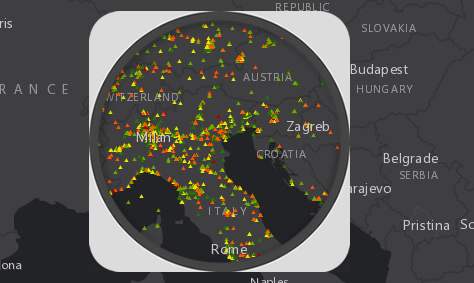
- Spyglass--Drag the spyglass around the map. The content of the layer you want to swipe shows within the spyglass.
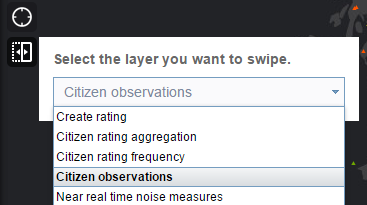
- Choose a layer you want to swipe by default in the drop-down list, which includes all the operational layers on the map.
- Click OK to save the configuration and close the window.
Using the Swipe widget
- Click the Swipe widget icon on the upper-left corner of the map to toggle the widget on and off .
- When it is toggled on, move the mouse over the widget icon to select a layer to swipe from the drop-down list .

Only the layer visible on the map can take effect with the swipe tool.
- Slide the swipe tool or drag the spyglass to display the content of the layer on the map.


- Click the Swipe widget icon to toggle off the widget.