You have the choice to first save the report configuration and produce the report at a later time. Saving the report configuration will save time and effort when using the same report structure to produce reports using updated data. The report configurations are saved in either your on-site deployment of Portal for ArcGIS or an ArcGIS.com online account.
- After configuring the mileage report or segment report, click Next.
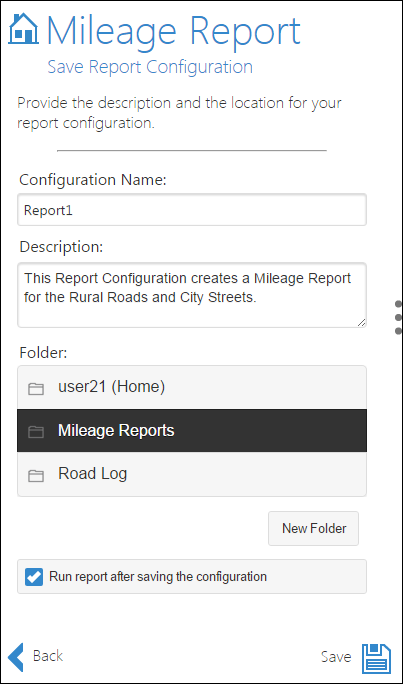
You will be prompted to save the report. The screen capture below depicts the save screen for the Mileage Report configuration, but a similar screen will be displayed if you configure a different report type.

- Type a name for the report in the Configuration Name text box.
- Type a description of the report in the Description text box.
- Select the Folder in which the report configuration will be saved.
These folders are present in your portal or Portal for ArcGIS or ArcGIS.com account. You can click New Folder to save the report in a new location.
- Check the Run report after saving configuration check box.
- Click Save.
The report configuration is saved.
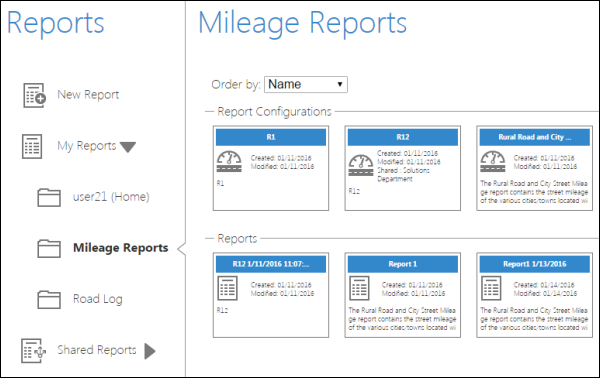
To access the saved report configuration, go to the Reports page and click the folder. Then click the report listed under Report Configurations.


Note:
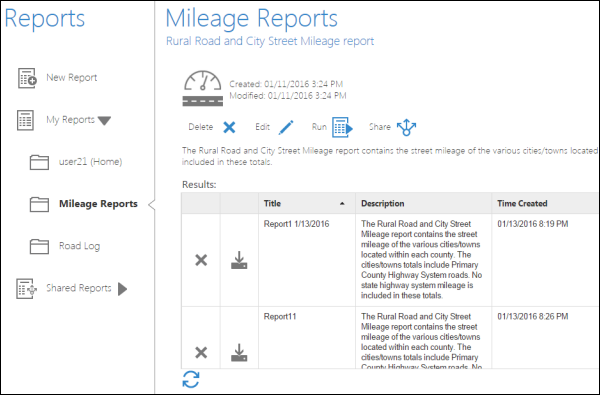
- Now you can run, edit, or delete the saved report configurations.
- If you edit the report configuration, you need to save the new configuration with a new name.
- The reports saved in the folder using this configuration are listed in the Results table. You can download or delete them.