After publishing with ArcGIS Pro, you can edit, change, and save web map symbology using the Symbology dialog box in Event Editor.
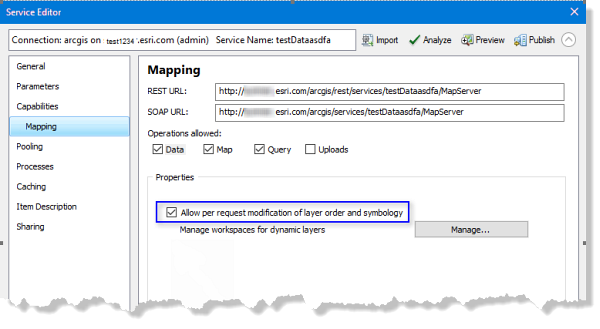
When publishing with ArcMap, check the Allow per request modification of layer order and symbology option before publishing to enable editing, changing, and saving the symbology in the map layers.

Map symbology can be saved if Portal for ArcGIS or ArcGIS Online security is configured with Event Editor.
- Open Event Editor and, if prompted, sign in to Portal for ArcGIS or ArcGIS Online.
- Click the Map tab.
- Click the Web Map button
 .
. Hover over a web map thumbnail to view additional information, such as the web map summary, tags, and last updated date.
- Click the Layers button
 .
. - Click a symbol next to the layer for which you want to change the symbology.
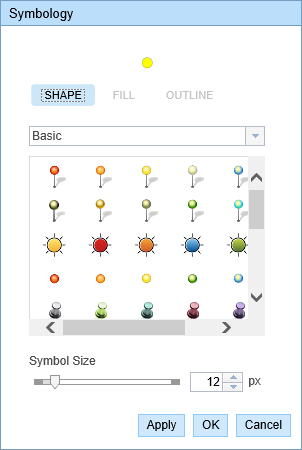
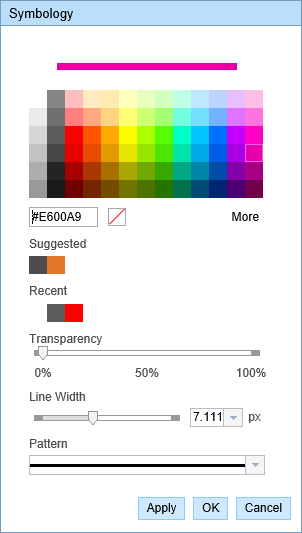
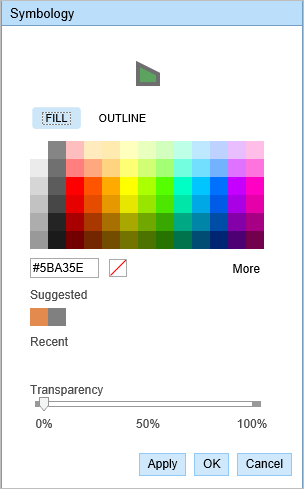
The Symbology dialog box appears.

Symbology editor for a point layer 
Symbology editor for a line layer 
Symbology editor for a polygon layer - Change the symbology according to your organization’s standard.
- Click Apply to preview the symbology on the map.
The dialog box remains open and you can apply more symbology updates.
- Click OK to apply the symbology updates and close the dialog box.
- Click the Save Web Map button
 on the Map tab.
 If saving an existing web map that you own, the file will be updated. If you are not signed in as the owner of the currently loaded web map, or if you are pointing to a configuration file, you will always be prompted to save as a new web map. If saving a new web map, refer to the following section.
A confirmation message appears at the lower right once the map is saved.
The new web map with edited symbology is saved in the respective organization’s portal and is given a new web map ID.