The Add Line Events tool allows Event Editor to add events to redlines. It provides them the ability to characterize the roadway with the appropriate attributes before the LRS editor has added or fixed the route in the LRS, so their workflow is not impeded by having an incorrect LRS route based on current information. For more information on redlines, see Redlining a route.
Note:
- This functionality is only available when you've included the redline layer in the map service configured against Event Editor. For more information on how to deploy redlines in Event Editor, see Deploying redline routes.
- You can save events on redlines that have Create Route or Reverse Route activity types.
- For the reverse route redline, the measure provided upon storage will be translated to the measures required to get the events to locate at the same location before the reverse.
You can use the following steps to add linear events using redlines. A redline with the following attributes is used for this example.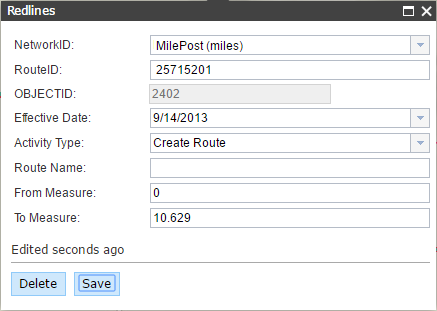
- Open Event Editor and, if prompted, sign in to Portal for ArcGIS or ArcGIS Online.
- Click the Edit tab.
- In the Edit Events group, click the Line Events button
 .
.The Add Linear Events widget appears.
Note:
The selections for the network to and from method and measure can be configured in advance when configuring, creating, or editing the default settings for attribute sets. For more information about configuring, creating, and editing default settings for attribute sets, see Producing attribute sets and Configuring attribute sets.
- Click the Network drop-down arrow and choose the network that will serve as a source LRM for defining the input measures for the new events.
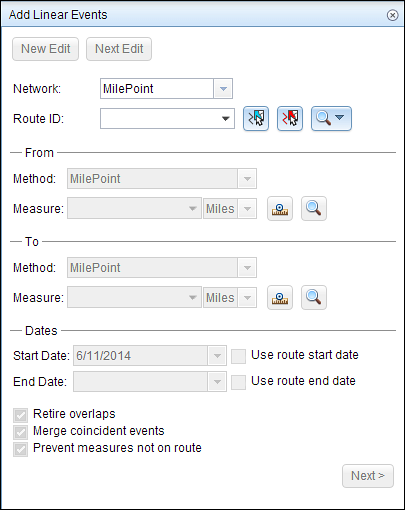
- Click the Select a Redline on the Map button
 to select the redline from the map.
Tip:
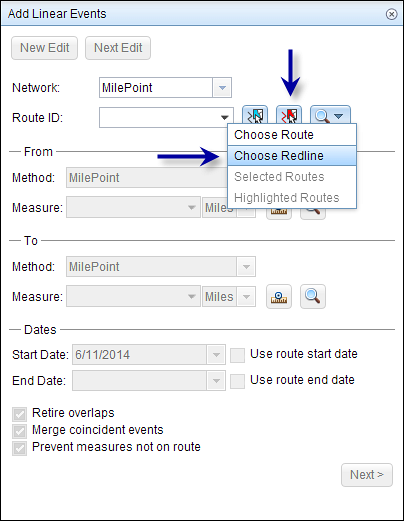
You can also click the Route ID drop-down arrow and click Choose Redline, then type the route ID for which the new event measures will be provided.
- In the From section, click the Method drop-down arrow and choose the from measure value for the events.
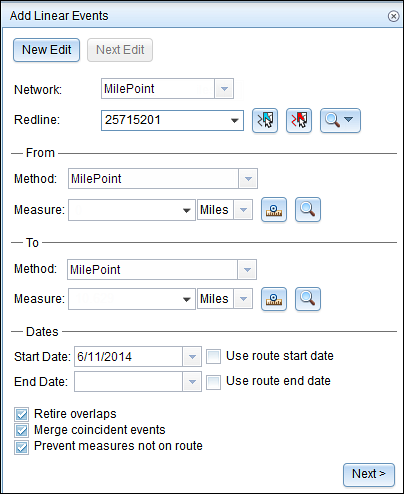
- Select the network (MilePoint in this case) to enter the from measure value for a single redline.
- Select a reference offset method to enter the from measure value using a reference offset.
- Provide the intended start location for the new linear event along the redline using any of these options:
- Type the value in the Measure text box.
- Click the Select From Measure on the Map button
 and choose the from measure value along the route on the map.
 - Click the Measure drop-down arrow and choose either Use the Route Start or Use the Route End as the from measure value for the event.
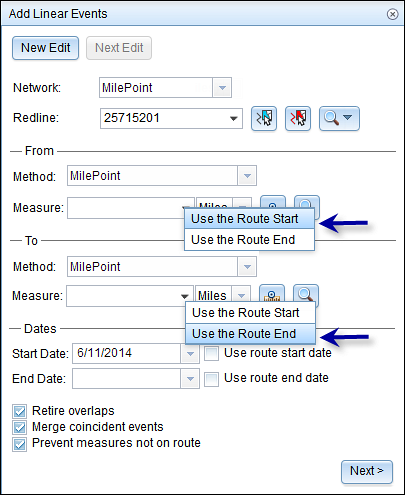
- In the To group, click the Method drop-down arrow and choose the to measure value for the events.
- Select the network (MilePoint in this case) to enter the to measure value for a single redline.
- Select a reference offset method to enter the to measure value using a reference offset.
- Choose the start date that will define the start date of the events.
- Click the Start Date drop-down arrow to choose the start date using a calendar.
- Check the Use route start date check box to use the start date of the redline.
- Choose the end date that will define the end date of the events.
- Click the End Date drop-down arrow to choose the end date using a calendar.
- Check the Use route end date check box to use the end date of the redline.
- Click Next.
- Enter the attribute information for the new event in the tables defined by attribute sets.
You can click the Copy Attributes button
 and click a route on the map to copy event attributes from another route.
Note:
Coded value, range domains, and subtypes are supported when configured for any field in the Attribute-Value table.
- Use these options to access more information on the attribute set.
- Check the Show network name check box to see which LRS Network the selected event layer is associated with.
- Checking the Go to the next measure upon save check box results in prepopulating the from measure value using the to measure value of the present section to continue the event creation process. For example, this will occur if events are created on the route using a from measure value of 0 miles and a to measure value of 0.289 miles.If you click Save, using this option checked on the Attribute Set tab, the Add Linear Events widget is prepopulated with the value of 0.289 miles as the from measure value for the new events.
- Click Save.
The new linear events are created on the redline and displayed on the map.
After an event has been successfully created, you have the following two options to continue characterizing the route:
- When you click New Edit, all the input entries in the widget are cleared, and the default values from the geodatabase are populated in the attribute table.
- When you click Next Edit, all the existing entries in the widget and the attribute table are retained for the convenience of quick editing of similar characteristics.