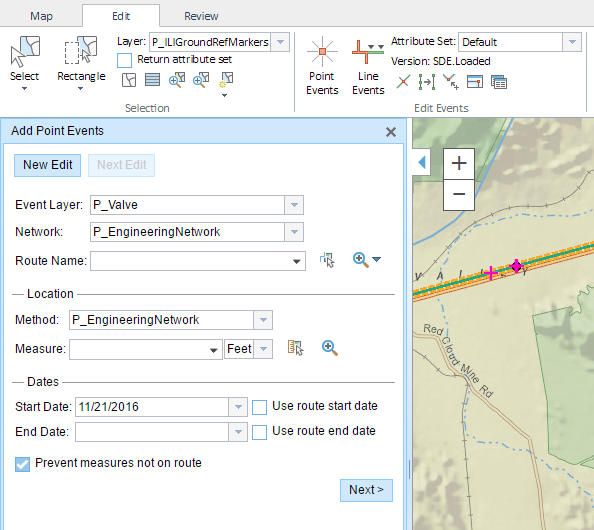
The Event Editor supports launching through the passing of URL parameters. The application can be launched to automatically do any combination of the following upon opening:
- Select a specific tab (Map, Edit, Review).
- Load a specific widget (for example, Add Linear Events).
- Populate a specific widget with route ID and measures.
- Navigate the map to a route.
- Set an attribute set.
- Set an enterprise geodatabase version.
- Navigate the map to a geographic extent.
Event Editor comes with a web page known as a launcher, which allows you to use the URL parameter settings to launch it. This feature can be used in conjunction with ArcGIS Workflow Manager to launch Event Editor from a job step. For more information about job steps, see Creating step types. This feature can also be used to create Windows desktop shortcuts to launch Event Editor.
The following steps describe how to use the launcher:
- In a browser, type http://<YourServerName>/<YourEventEditorFolderName>/launcher.html and press Enter, for example, http://testmachine1/EE/Launcher.html.
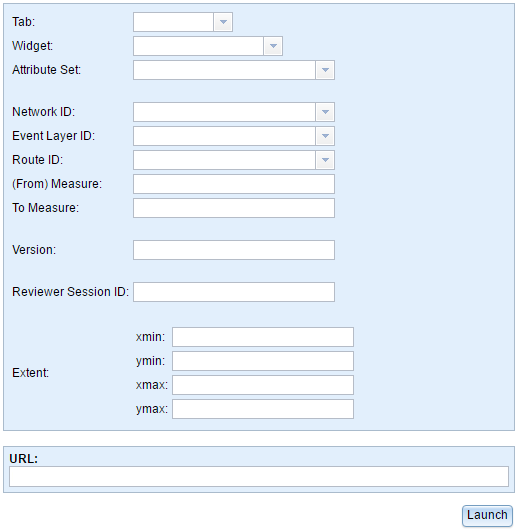
The Event Editor Launcher dialog box appears.
Hinweis:
The URL section at the bottom displays the most recent URL entered in the browser.
Hinweis:
- Steps 2 though 10 are optional. The URL launches the Event Editor with only the information you provided in the Event Editor Launcher dialog box.
- You can use the URL created in the Event Editor Launcher dialog box as a guide to create your own custom URLs that you can use to launch the RCE with Workflow Manager. For more information on launching a URL through Workflow Manager, see Creating step types.
- The information from the drop-down list is added to the URL.
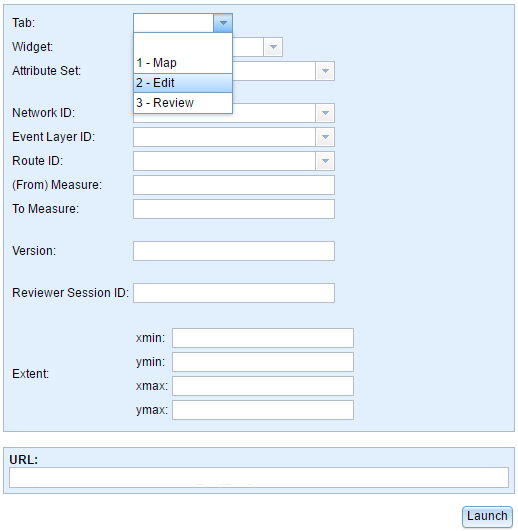
- Click the Tab drop-down arrow and choose 2 - Edit.
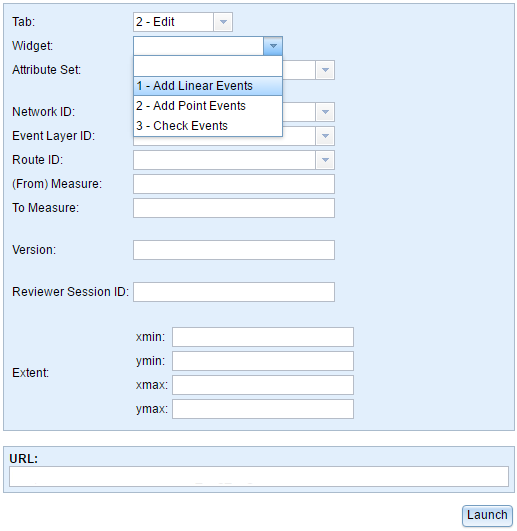
- In the Widget drop-down list, choose 1 - Add Linear Events.
- In the Network ID drop-down list, choose or type a valid network ID.
- In the Route ID drop-down list, choose a route ID or type a valid route ID.
- Type a (From) Measure value for the new event.
- Type a To Measure value for the new event.
- Type a Version name for the database.
- Type a Reviewer Session ID for the Reviewer session that you would like to use.
This is used by the Reviewer table to filter results and becomes the default by the Data Reviewer Batch Job tool to run the batch job.
Tipp:
You need to have Data Reviewer integrated to use this parameter. For more information, see Integrating Data Reviewer for Server.
- Optionally provide extents for zooming in to the map.
If you do not provide any extents, the map will be zoomed to the selected route.
Hinweis:
The information you provided is appended to the URL.
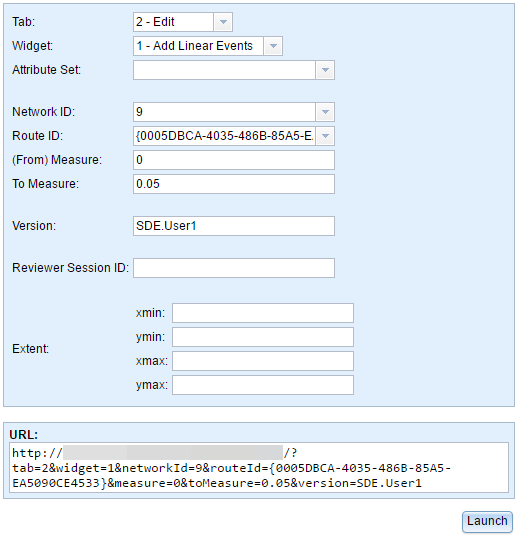
- Click Launch.A new browser window opens in the Event Editor. The Add Linear Events widget is opened with prepopulated values and zoomed to the route using a specific version of the database. The From Measure and To Measure values are located on the map.
